Brow Lamination: Achieving Perfectly Arched Brows
I’m all about keeping up on the latest + greatest when it comes to skin and beauty – & brow lamination has been taking the industry by storm. This semi-permanent brow process is the secret to full and glossy brows, and I’m breaking down this process and how it might work for you!
What Is Brow Lamination?
Brow lamination is a process where a specialist {hi, it’s me 😉} will soften the hair follicles of your eyebrows through a chemical process, allowing them to shape and set your natural brows into a more lifted and smoother shape.
It is essentially a perm for your brows, but instead of setting permanent curls, it helps set your brows into a uniform shape - allowing you to have brushed-up brows that appear fuller and more defined.
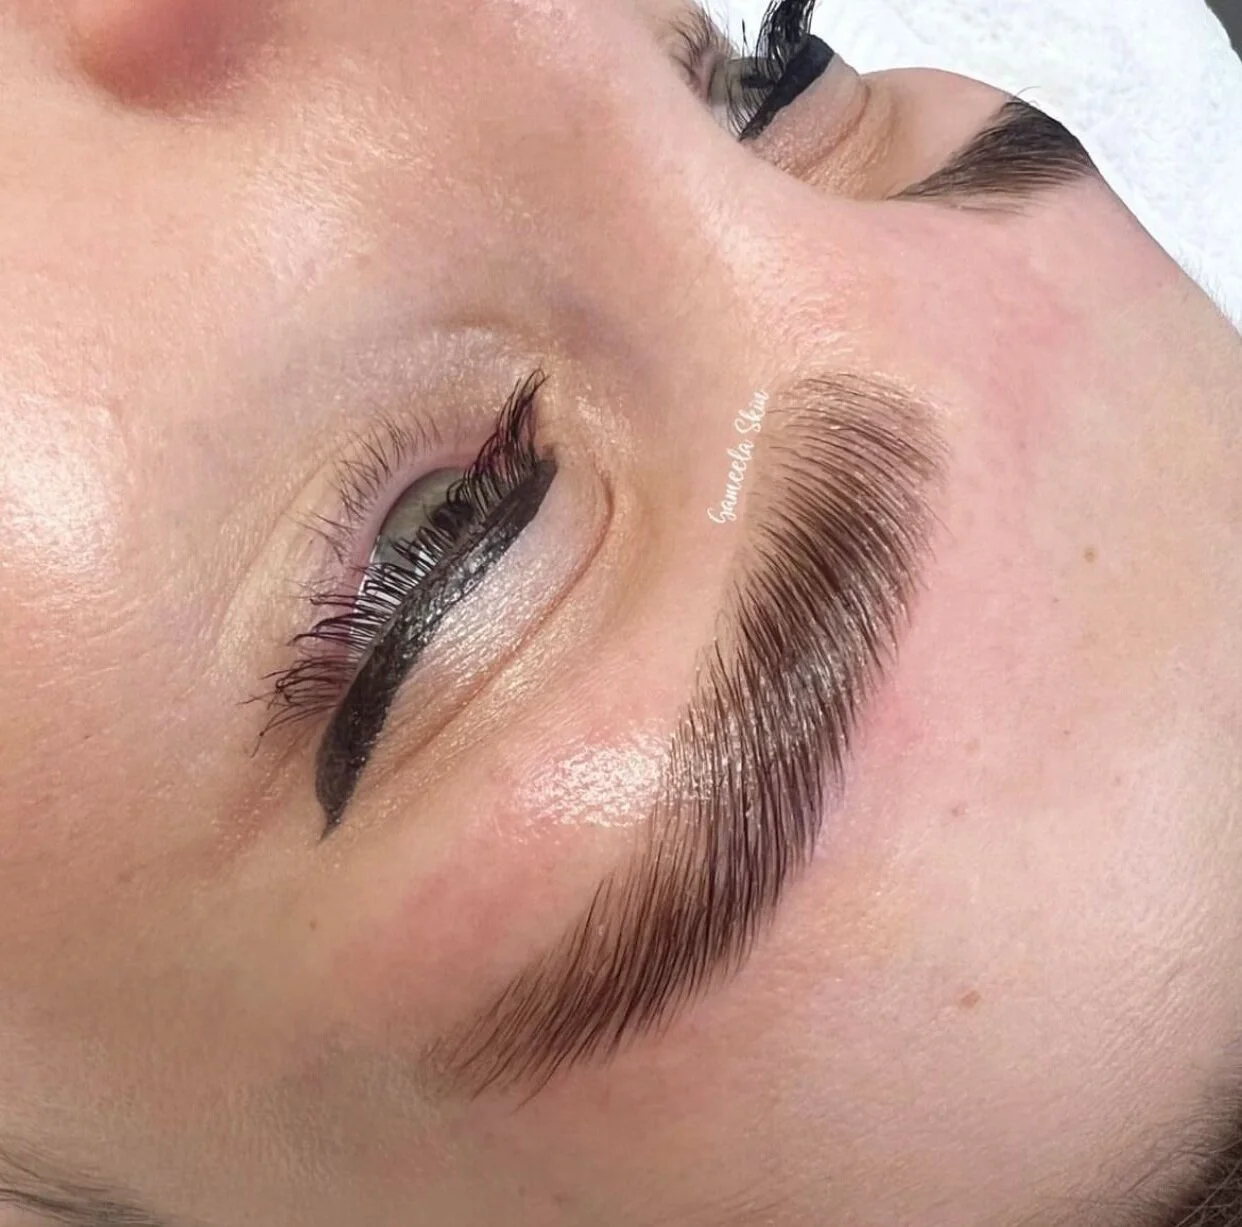
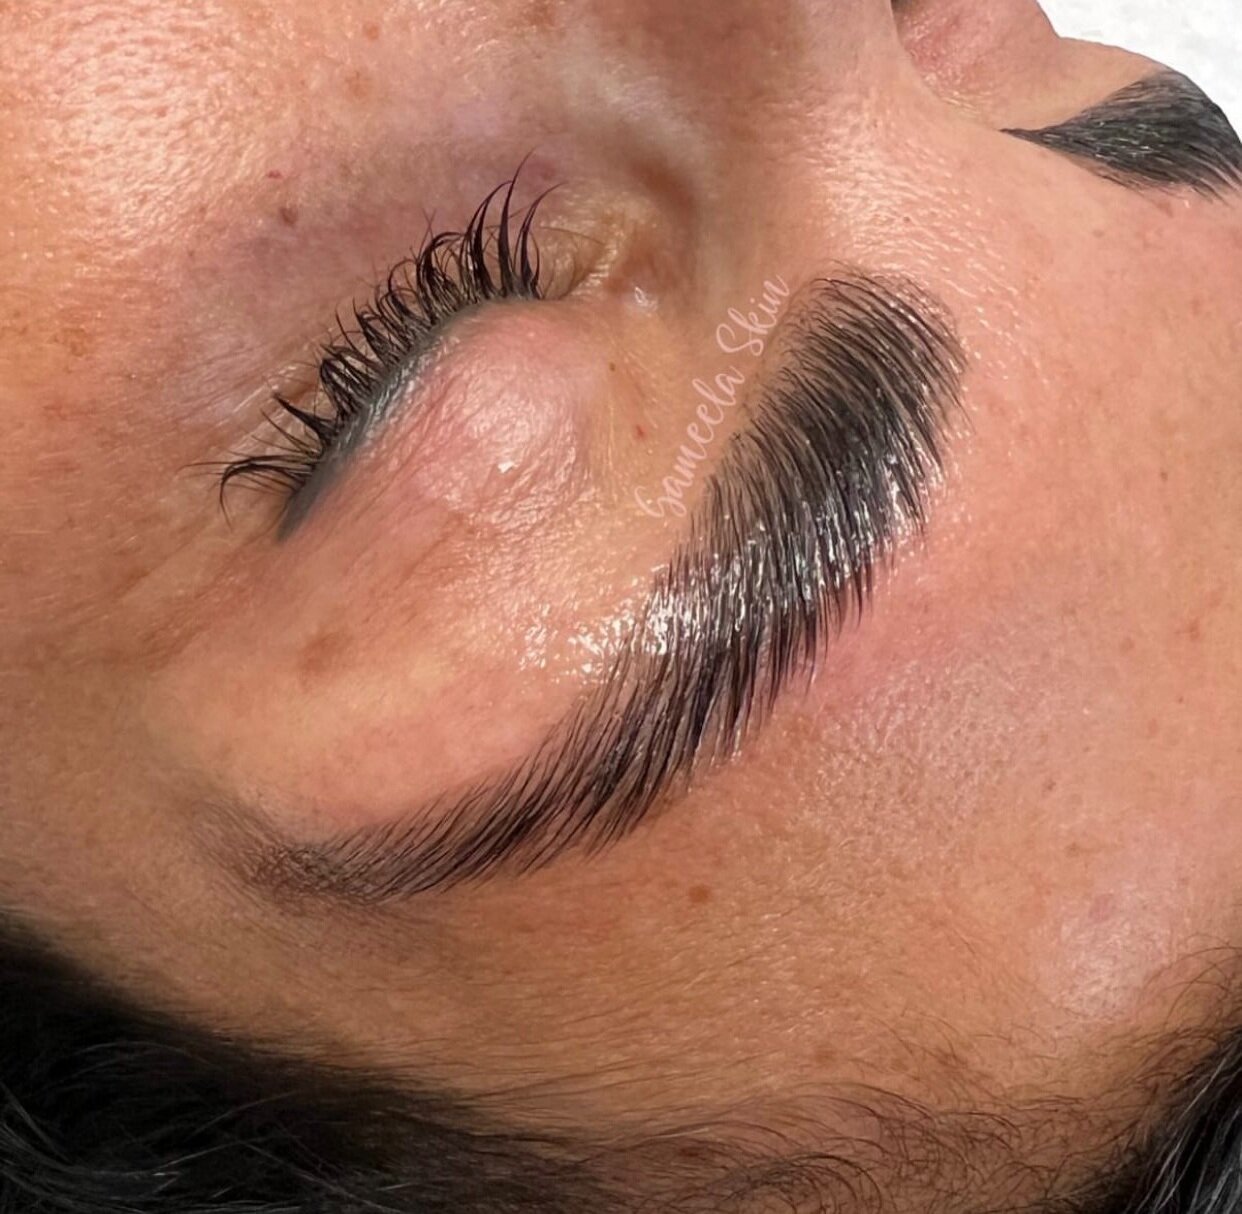
This is what laminated brows look like immediately following a treatment:
What is the Brow Lamination Process?
Of course, I can only speak to the treatment process you’ll experience at Gameela Skin.
Your brow lamination will start with general eyebrow care. I will begin with a brow wax and shape, to make sure any stray hairs are gone before beginning the lamination. I’ll cleanse your skin post-wax, and then apply a skin barrier cream to the brow area. This cream will create a protective layer between your skin and the solution used to laminate the brows, and it also serves to soothe any irritated or red skin from your wax.
The permanent gel is applied once the skin around your eyebrows is fully shielded with the barrier cream. The permanent gel will help erase the chemical structure of your brows, basically erasing the shape they normally hold, allowing me to mold them into the perfect arch. A piece of Saran wrap is then placed over the permanent gel {giving you some time to relax while the solution sits}.
After removing the permanent gel, I’ll apply a neutralizing cream to your brows. The neutralizing cream repairs any bonds that were broken during the permanent gel process and will set a new direction of hair growth in place. When the neutralizing cream is applied, I’ll shape the brows so they are set where you want them to be. Once we’re both satisfied with the shape, another piece of Saran wrap is applied and your brows have time to fully set. Once the neutralizing cream is removed, I will then tint the brows {if you wish to add this step}.
The final step in the brow lamination process is to apply the regenerating cream, which helps replenish any moisture lost during the treatment. This cream leaves a light glaze on the brows and should be kept on the brows for 24 hours post-treatment.
The lamination process is quick and easy, leaving you with perfectly fluffed brows for about 6 weeks post-treatment.
Will Brow Lamination Help Achieve a Specific Brow Shape?
The short answer? Yes! One of the major benefits of brow lamination is that you can achieve your perfect brow shape.
The long answer? Brows frame the face, and every face is different. Whatever specific shape works for you will be the shape I form your brows into. During the second step of the lamination process, after applying the neutralizing cream, I’ll work to make sure your brows are exactly what you are hoping for. If you are hoping for a higher arch in the brows or a lower tail on the end, I’ll make sure to shape as desired and give you a look prior to setting the brows. Of course, I will always provide my expert opinion and recommendations.
What Aftercare Steps come with Brow Lamination?
The aftercare immediately following your brow lamination is super important to maximizing the lifespan of your lamination.
For 24 hours after the lamination, you must avoid washing your face and touching your eyebrows. By keeping the glaze on your brows that was applied at the end of your treatment for these 24 hours will ensure the best results. It is also recommended to avoid activities where the face may become wet, such as exercising, and anything involving moisture, steam, or excessive heat.
48 hours after your lamination, I recommend applying castor oil or another moisturizer directly to the eyebrow hairs.
After showering with your laminated brows, I like to shape the brows while still wet. Using a Spoolie {or mascara wand} and brow soap, brush your brow hairs up and into shape - this helps set them “up” for the rest of the day.
How To Select a Qualified Brow Lamination Professional?
Convinced that brow lamination is for you? I knew you would be 😉 It’s time to do some research to find a qualified brow lamination professional.
Your brows are noticeable, and you shouldn’t trust them with just *anyone*! I recommend researching estheticians in your area and reading multiple reviews to see other experiences + results. It’s also a good idea to check out their Instagram to see examples of previous work.
And, as always, it’s important to verify that any esthetician you plan to work with, is trained and licensed.
If you’re interested in exploring the reviews and process of brow lamination at Gameela Skin, you can learn more here.